Customizing cars in my collection is something I enjoy very much. I’ve done it countless times and I still don’t find it annoying, after 20 years.
Before I became competent enough to do it on my own, I went through countless hours of practice.
If you are interested in doing the same, then you are in the right place to be.
I will point out several things you must be aware of before you can paint your slot car on your own.
Table of Contents
Preparation
Proper preparation is the foundation of a successful slot car customization project.
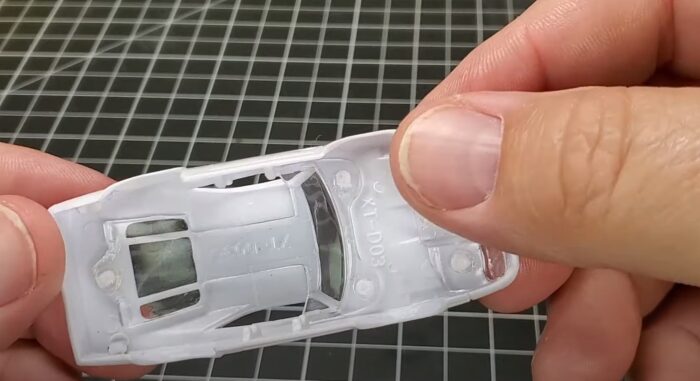
Start by cleaning the slot car body thoroughly. Use warm soapy water to remove any oils, grease, and debris that might be on the surface.
It is of the utmost importance to do so because any contaminants left on the car body can interfere with the adhesion of the paint and other materials.
After cleaning, dry the car body completely. Next, sand the surface lightly to ensure it is smooth and free of any imperfections.
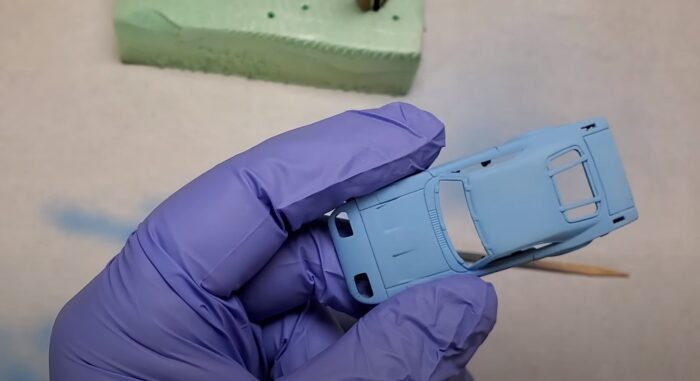
Sanding helps to create a surface that the paint can adhere to more effectively. Use fine-grit sandpaper to avoid scratching the plastic or resin of the car’s body. Once the body is clean and sanded, apply a good-quality primer.
Priming is an important part of the process as it prepares the surface for painting, ensuring better adhesion and a more uniform finish.
Choose a primer that is compatible with the type of paint you plan to use. Apply the primer in thin, even coats, allowing each coat to dry thoroughly before applying the next.
Proper preparation not only ensures a smooth and professional-looking finish but also enhances the durability of the paint job. Skipping or rushing through these steps can result in a less satisfactory outcome, with issues such as peeling paint or visible imperfections.
Choosing Paints
Selecting the right type of paint for your slot car is essential to achieve the desired finish and durability.
There are three main types of paints commonly used for slot car customization:
- Acrylics
- Enamels
- Lacquers
Each type has its own set of advantages and disadvantages.
1. Acrylics
Acrylics are water-based paints that are popular due to their quick drying times and ease of use. They are less toxic than other types of paints and can be cleaned up with water.
Sadly, they tend to be less durable than enamels or lacquers, which means they might not hold up as well under the wear and tear of racing.
2. Enamels
Enamels, oil-based paints, are known for their durability and glossy finish. They take longer to dry compared to acrylics, which allows for a smoother finish but also requires more patience.
These paints tend to be highly durable and resistant to chipping and scratching, making them an excellent choice for parts of the car that are more prone to impact.
3. Lacquers
Lacquers are solvent-based paints that dry very quickly and provide a hard, durable finish. They are often used for professional-grade paint jobs due to their high-gloss finish and toughness.
These can be hazardous to work with due to their strong fumes and the need for proper ventilation.
They also require careful handling to avoid over-spraying, which can lead to a brittle finish.
Finding the right paint involves considering the specific needs of your project, including the desired finish, durability, and ease of application.
Painting Techniques
Achieving a professional finish on your slot car requires mastering various painting techniques. The choice between using an airbrush or spray cans depends on your experience level and the desired finish. Airbrushing offers precision and control, making it ideal for detailed work and smooth, even coverage.
When using an airbrush, it’s important to work in a well-ventilated area and use appropriate safety gear, such as a mask and gloves. Start by practicing on a piece of scrap material to get a feel for the airbrush. Use light, even strokes, and build up the paint in thin layers to avoid runs and drips.
For those who prefer using spray cans, there are techniques to achieve a high-quality finish.
An efficient tip is to warm the spray can in hot water for a few minutes before use. It helps to improve atomization and ensures a smoother spray. Shake the can thoroughly to mix the paint and test spray on a piece of cardboard to ensure even flow.
Hold the can about 6-8 inches away from the car body and use sweeping motions to apply the paint. Avoid holding the can too close or spraying in one spot for too long, as this can cause drips and uneven coverage.
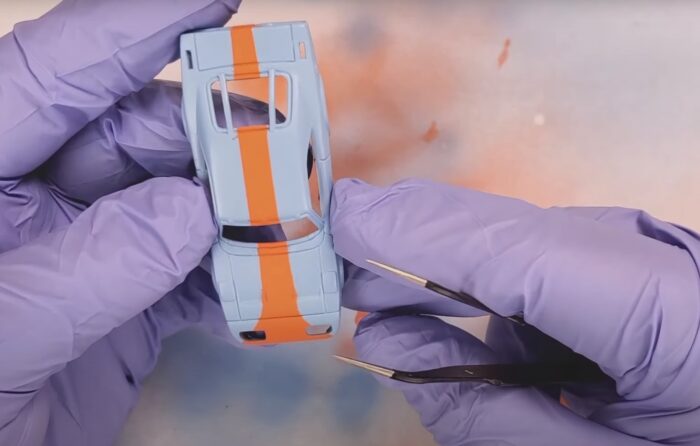
Regardless of the method you choose, it’s important to apply the paint in thin, even coats.
Allow each coat to dry completely before applying the next. Patience is key to avoiding common painting mistakes and achieving a professional-looking finish.
Troubleshooting Common Issues
Even with careful preparation and application, painting mistakes can happen. Knowing how to troubleshoot common issues can save time and frustration.
- Splotches can occur if the paint is applied too thickly or unevenly.
- To fix splotches, allow the paint to dry completely, then lightly sand the affected area with fine-grit sandpaper and reapply the paint in thin, even coats.
- Bubbles in the paint are often caused by trapped air or applying paint in humid conditions.
- To address bubbles, let the paint dry, then sand the area smooth and repaint.
- Uneven textures can result from improper paint application or using the wrong type of paint.
- If the texture is too rough, sanding can help smooth it out before reapplying a fresh coat.
Removing old paint can be done using a paint stripper specifically designed for plastic or resin models.
Follow the manufacturer’s instructions carefully to avoid damaging the car’s body.
Once the old paint is removed, clean the surface thoroughly, sand it smooth, and reapply the primer and paint.